
Material intelligence / Field guide
How to Specify Architectural Wall Panels: A Practical Checklist
Turn a visual approval into a coordinated product, detail and evidence package that can survive procurement and site work.
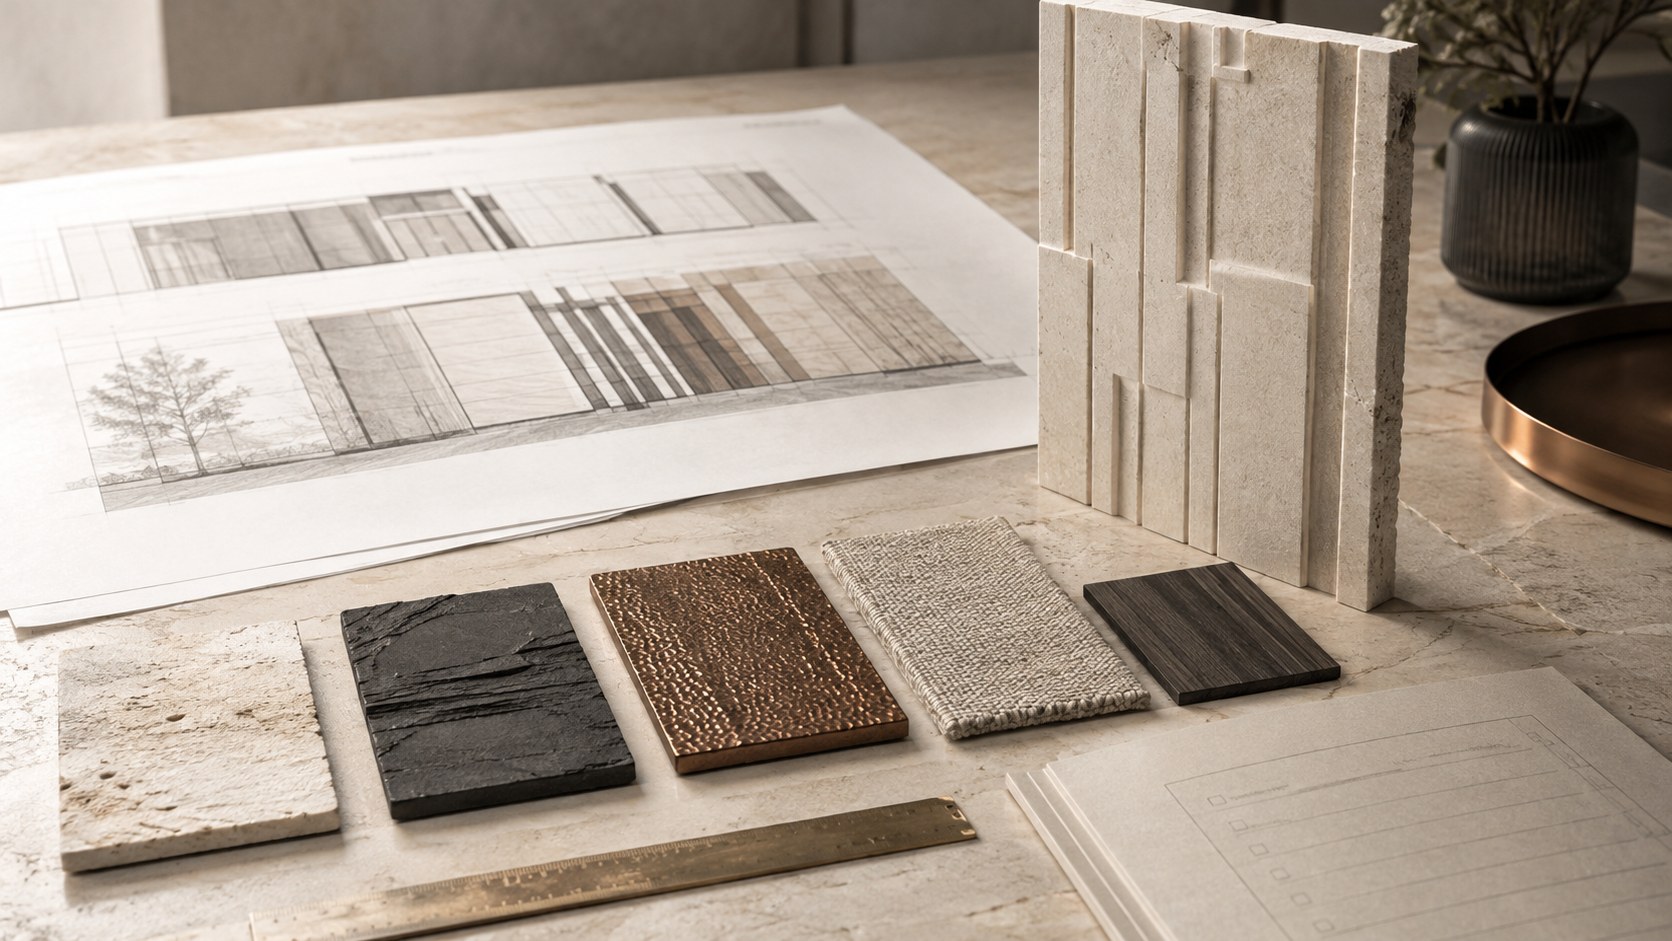
A finish sample has been approved, but the tender package still says “decorative stone-effect wall panel.” One contractor prices an adhesive-fixed sheet; another allows for a framed panel assembly. Both can point to the same image. The visual decision was made, but the product and installation decision remained open.
Knowing how to specify architectural wall panels means translating that visual approval into information that can survive procurement, fabrication and site coordination. This wall panel specification checklist is for interior designers preparing a project brief or reviewing a supplier submission. It is a coordination framework, not a substitute for project engineering or the applicable contract documents.
At a glance
Specify a wall panel as an identified product within a defined assembly: face, body, backing, attachment, supporting wall and interfaces. Connect each visual or performance requirement to a document, sample or detail that demonstrates it.
- Identify the actual material construction before comparing alternatives with a similar appearance.
- Approve edges, joints and lighting together with the face; a small colour chip cannot represent a complete wall.
- Record who resolves each open issue and when. “To be confirmed” needs an owner and a deadline.
What exactly is being specified?
Start with a product identity block: manufacturer, collection, model, finish reference, document revision and intended location. Write the material description separately from the marketing name. “Flexible Stone,” for example, needs clarification of whether the face is a mineral composite or a thin layer of natural stone. Our guide to five decorative surface types explains why these distinctions change the questions to ask.
Describe the layers from room face to supporting wall. Include the decorative finish, panel body, backing where present, adhesive or mechanical attachment, any rails and the substrate. The person pricing the work should be able to tell which components are supplied with the panel and which belong to another trade.
Separate finish approval from assembly approval in the submittal register. The Association of the Wall and Ceiling Industry's discussion of submittals distinguishes product information, shop drawings, samples and mock-ups as different submission types. They answer different questions; receiving one does not close the others.

Include intended use and exclusions. An interior feature wall beside a reception desk is not the same exposure as a shower enclosure, escape route or exterior entrance. Record expected contact, cleaning, moisture and heat conditions, then ask for evidence relevant to that location. Do not extend an approval to another area simply because the same colour is used there.
Which dimensions and visual variables need a decision?
Record panel length, width, total build-up, relevant relief depth, weight and tolerances using the supplier's verified data. Distinguish nominal sizes from finished installed coverage. An overlapping edge can make a panel's overall width different from its contribution to the elevation.
For visual control, identify colour, sheen, texture direction, motif repeat and acceptable variation. A natural or hand-finished surface may need a range of approved samples. Describe the range using actual examples rather than “uniform” in one document and “naturally varied” in another. Keep sample labels visible in the record, including which face was reviewed and under what light.
Arrange a representative group of panels to test repetition. A distinctive dark mark may look appealing on one sample but form an unintended diagonal across a large wall. A repeat map makes this visible before the order is released. If panel rotation is proposed, check whether the edge system and surface direction allow it.

Coordinate the places where the finish stops
Draw the wall at doors, skirtings, ceilings, inside and outside corners, sockets, grilles and access panels. Identify whether the decorative face returns around the edge, meets a trim or stops against a shadow gap. An exposed cut can reveal a different material from the front face.
Set out joints against architectural datums rather than accepting whichever strip remains at the end. Ask for the minimum workable cut-piece geometry and required edge clearances from the selected system supplier. Do not insert a universal joint width: movement, machining, finish build-up and attachment all affect the detail.
What evidence belongs in the specification package?
List required performance evidence by the question it answers. For a fire or emissions requirement, identify the applicable market, test method, classification, report reference and the construction represented. Have the responsible project professional determine acceptance. A result for one facing or substrate is not automatically evidence for a different assembled wall.
Request current installation and care instructions for the exact product. Check whether the substrate, adhesive, primer, fixing type and environmental conditions in those documents match the proposed detail. Resolve contradictions with the relevant suppliers before issue, and attach the clarification to the specification revision.
For example, a material may be selected for its light weight while its installation still depends on a sound, compatible substrate. The substrate assessment guide helps turn that dependency into a site check. A lightweight panel does not make an unidentified paint layer or loose board an acceptable attachment surface.
Keep sustainability claims equally specific. Request the document behind the claim, its product scope and date. A generic brand statement should not be copied into the project schedule as a verified product attribute. Where evidence is missing, record the question instead of substituting a reassuring adjective.
A practical wall panel specification checklist
Use the following fields as a review sheet. “Complete” means the supporting item is identified and accepted through the project's normal review process, not merely that a box contains text.
| Specification field | Record or attach | Decision to close |
|---|---|---|
| Product identity | Model, construction, finish code, revision | Is everyone pricing the same product? |
| Location and exposure | Room, wall reference, use conditions | Is evidence relevant to this application? |
| Format and build-up | Dimensions, coverage, weight, tolerances | Will it fit the coordinated wall? |
| Visual standard | Labelled samples, range, light conditions | What variation is acceptable? |
| Set-out and interfaces | Elevation, corners, trims, penetrations | Where do joints and cut edges occur? |
| Attachment | Approved substrate and fixing detail | Who verifies support and compatibility? |
| Performance | Applicable reports and reviewed scope | Does the proposed assembly match? |
| Installation | Preparation, storage, handling and sequence | What must be ready before fixing? |
| Replacement and care | Removal method, spares, cleaning guidance | Can the owner maintain the finish? |
| Approval record | Named reviewer, date and revision | Which version is released for production? |

Assign interface ownership explicitly. The panel supplier may confirm machining limits while the contractor verifies the existing wall and the electrical designer coordinates outlet positions. A clear division lets each party give a meaningful answer; it also exposes questions that otherwise fall between scopes.
What should the mock-up prove before release?
Choose a mock-up that includes the most consequential junction, not only the easiest uninterrupted surface. Include adjacent panels, a termination and the intended lighting direction. For a replaceable retail wall, include removal and reinstallation as part of the review; for deep relief, include an outside corner or penetration.
Review appearance from the entrance, normal viewing distance and close inspection distance. Record the accepted light source and angle, since a grazing light can make relief and joint shadows much more evident than diffuse studio lighting. Photograph the result for communication, but retain the physical reference where possible.

Before production, issue one coordinated release containing the approved sample references, drawings and resolved comments. Label superseded documents clearly. If the substrate or finish changes afterwards, identify which earlier decisions need review rather than assuming the original approval covers the change.
Questions designers often ask
Can a supplier propose an equivalent panel?
Yes, if the review compares construction, appearance, dimensions, attachment, evidence and maintenance against the project requirements. Similar colour is only one comparison point. Record accepted differences and update affected details before ordering.
Do all panels need the same specification depth?
No. The level of detail should follow the consequence of uncertainty. A small protected accent and a large public-area installation have different coordination demands, but both need clear product identity and acceptance criteria.
Is a signed sample enough to start production?
It can close the visual decision represented by that sample. It does not, by itself, resolve quantity, set-out, attachment or compliance. Release production when the agreed information for that stage is complete.
Turn your wall brief into a reviewable specification
Send the wall elevation, project location, preferred surface direction and known installation conditions. Include the decisions still open, especially edges, samples and supporting-wall information. Explore the Versa surface collections or discuss your project requirements to begin a focused material review.
Considering this surface for your project?
Tell us about your space, desired finish and project requirements. Let’s discuss material options, samples and detailing.
Discuss Your Project Request Samples