
Material intelligence / Field guide
Decorative Wall Panel Installation: A Pre-Start Site Checklist
A practical pre-start review for designers and site teams: what to confirm, what to record and when to hold installation.
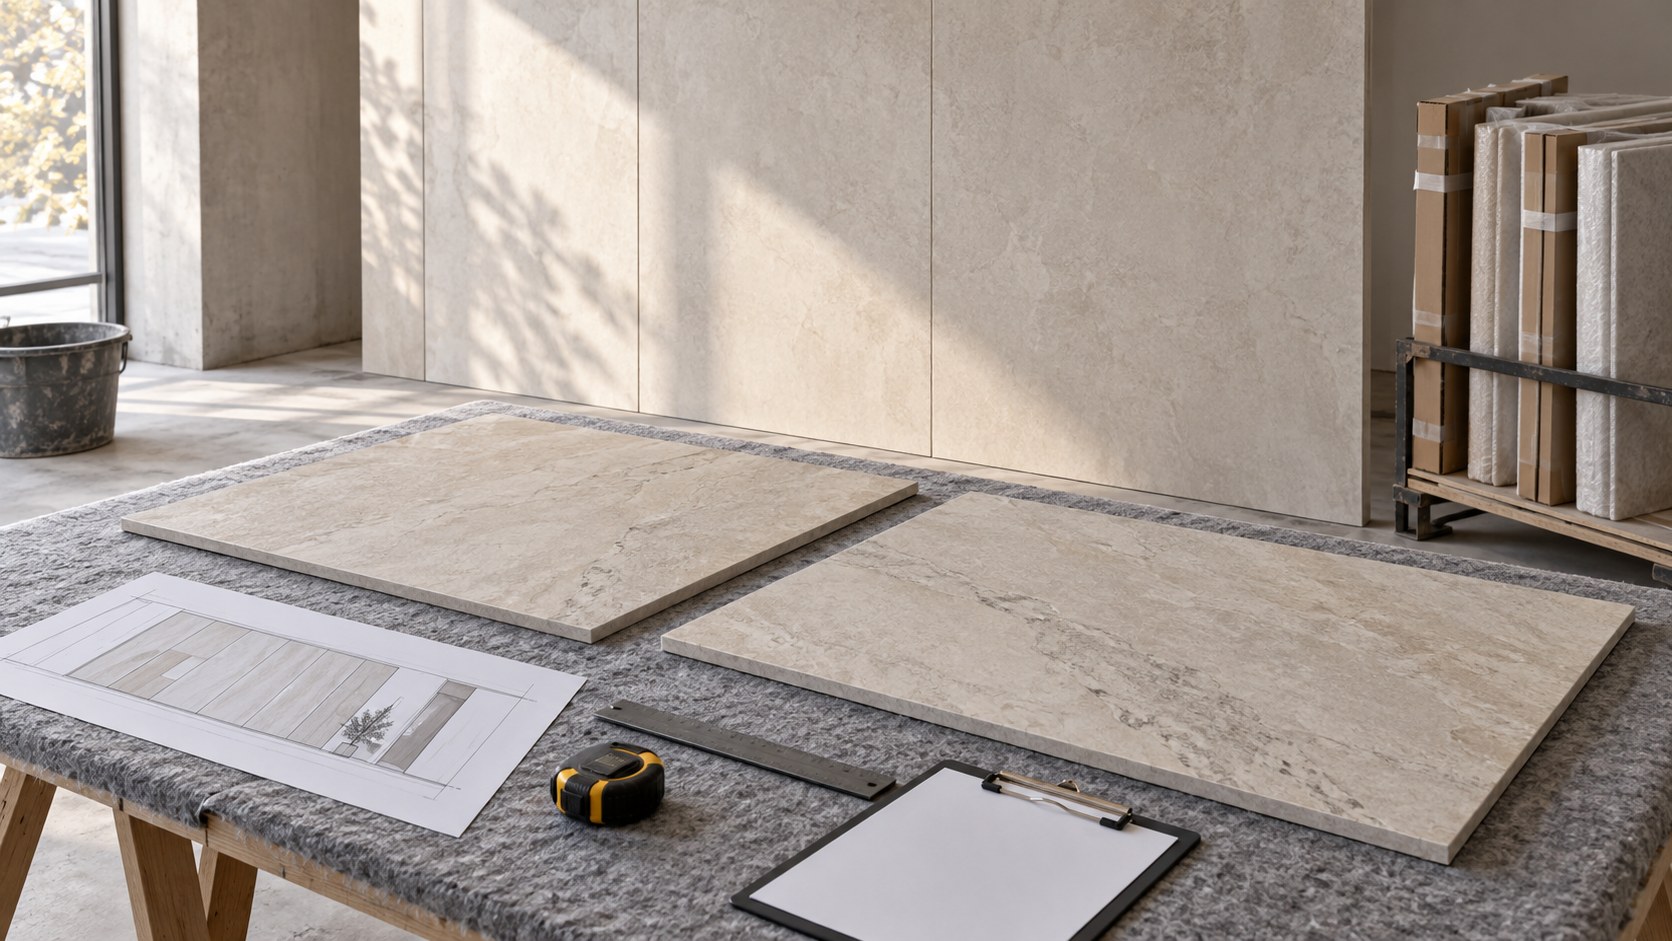
The panels have arrived, the installer is booked and the finish sample looks right. That still leaves a practical question: is this particular wall ready for installation? A delivery confirms that material is on site. It does not confirm that the substrate, fixing method, room conditions or final layout are ready.
This decorative wall panel installation checklist helps designers and site teams organize that decision before cutting or fixing begins. Use it as a coordination record alongside the selected manufacturer’s instructions and project documents. It does not supply universal moisture limits, adhesive choices or fixing spacings.
At a glance
Release a wall zone for installation only when the panel system is identified, delivered material has been checked, the substrate and room meet the specified conditions, the installation method is confirmed, and the layout and representative details are accepted. Record unresolved items as holds with an owner and a closure requirement.
A useful pre-start meeting ends with a decision about a named wall zone, supported by current documents and observations. “Materials on site” or “sample approved” is too broad to serve as that decision.
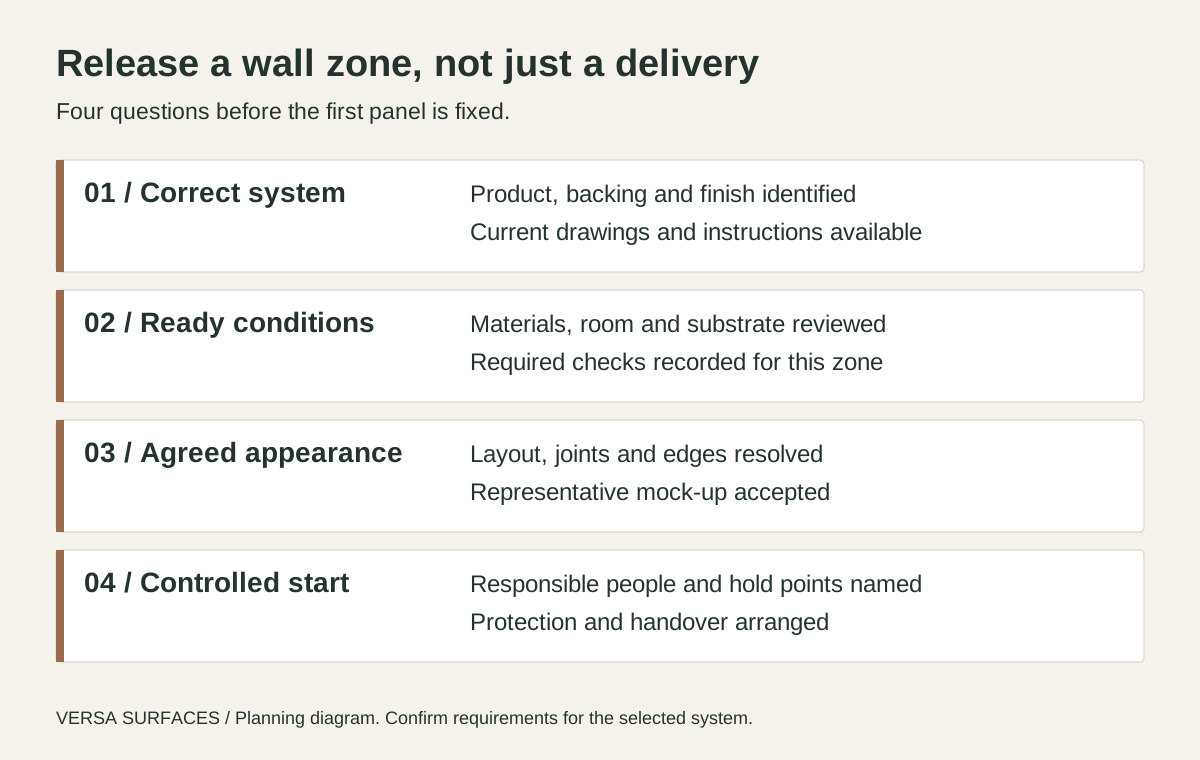
1. Identify the product and the released documents
Start with the exact panel reference, finish, backing and intended location. Similar faces can sit on different constructions. A stone-like relief panel, a thin mineral surface and a leaf-finished decorative panel should not inherit one another’s installation method just because they cover the same wall.
Assemble a short site packet: the current elevation, approved finish or range sample, product identification, installation instructions, relevant adhesive or fixing instructions, and the agreed edge and joint details. Make the drawing revision easy to find. A printed elevation from an earlier coordination meeting can otherwise become the installer’s working document.
Check that the supplied material matches those records. Record batch or lot references where available, and keep labels traceable when packaging is removed. If the backing, panel size or finish differs from the approved selection, resolve the discrepancy before cutting. Refer to our architectural wall panel specification checklist if the original specification still leaves the system unclear.
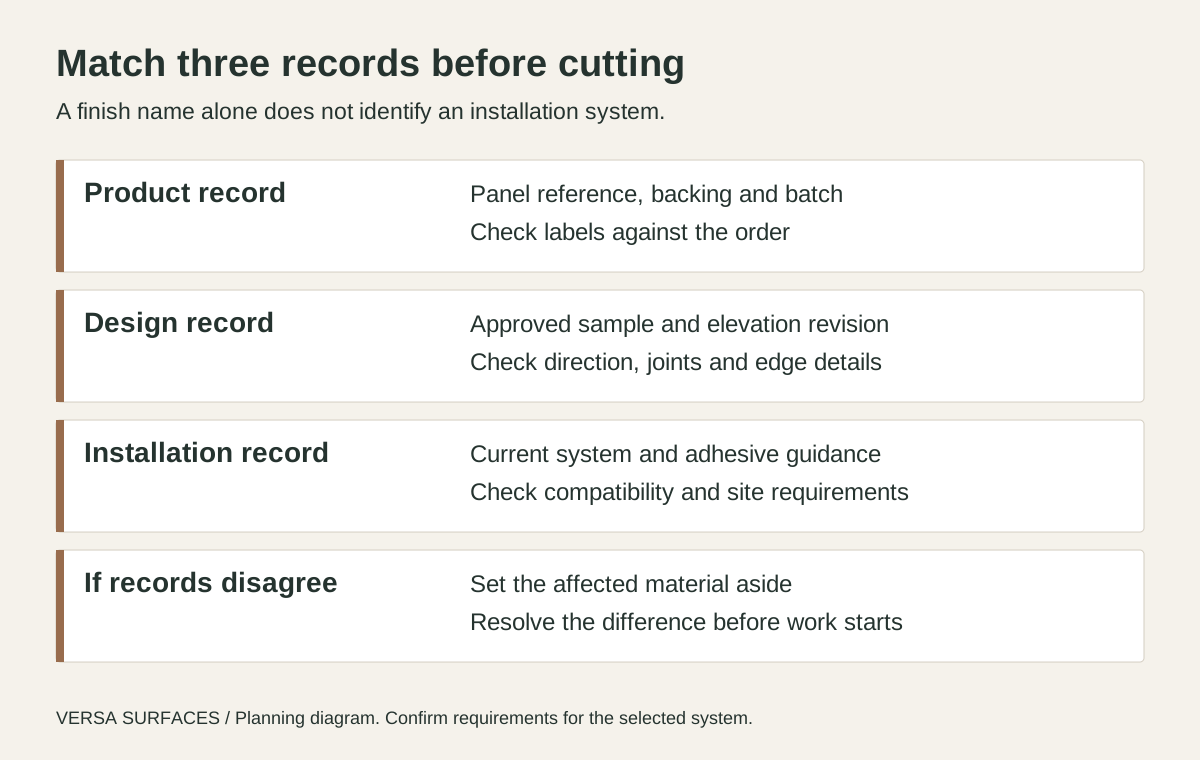
2. Check the delivery and the room together
Inspect packaging and accessible material for damage, staining, distortion or inconsistent identification. Agree how the remaining material will be inspected without creating damage through repeated handling. Separate suspect pieces and photograph the issue with the panel and package references visible.
Review the appearance across the material allocated to the wall, rather than relying on one loose sample. As a product-specific example, Fasade’s wall panel installation guide calls for purchased panels to be unpacked and laid out to check color consistency before installation. That is a useful reminder to assess the complete visual field; its preparation and adhesive instructions apply to the Fasade products described, not automatically to other panels.
Confirm a protected storage location and the manufacturer’s required support and orientation. Do not assume that every panel can lean against a wall or stack flat. Confirm any conditioning period and the conditions during that period from the selected product documentation, rather than applying a standard number of hours to every material.
Room readiness also includes wet trades, water ingress, dust-producing work, access and the conditions required during installation and curing. The EPA’s moisture-control guidance treats moisture management as a matter spanning design, construction and operation, with verification methods and checklists. Use the project’s moisture-control plan and product-specific acceptance criteria to decide whether the wall can be enclosed.
3. Confirm substrate acceptance and the installation method
Identify the actual surface receiving the panels, including coatings, repairs and layers beneath it. Record the required checks for condition, flatness, moisture and attachment suitability, using the methods and acceptance criteria specified for the system. A wall that appears smooth is not, by appearance alone, a verified bonding surface.
Our wall substrate assessment guide covers this review in more detail. Bring its findings into the pre-start record instead of replacing them with a verbal “wall ready.” An unresolved leak, weak coating or unconfirmed substrate should remain a hold for the affected area.
Next, check that the actual adhesive, primer, mechanical components and tools match the confirmed installation method. Review shelf life, storage condition, preparation requirements and working or curing conditions where relevant. A locally available replacement needs compatibility confirmation; a familiar brand name is not enough.
Resolve responsibility for concealed services, openings and any support needed for fixtures before work starts. The decorative finish must not become an assumed support for signage, shelving or equipment. Those loads and connections require their own appropriate design and coordination.
4. Review a representative layout and mock-up
Use the wall elevation to decide where installation begins and where the final cuts land. Check panel direction, pattern repetition, visible joints, corners, returns, outlets and transitions to adjacent finishes. Confirm movement and perimeter details from the selected system and project design; the drawing below intentionally gives no universal gap dimension.
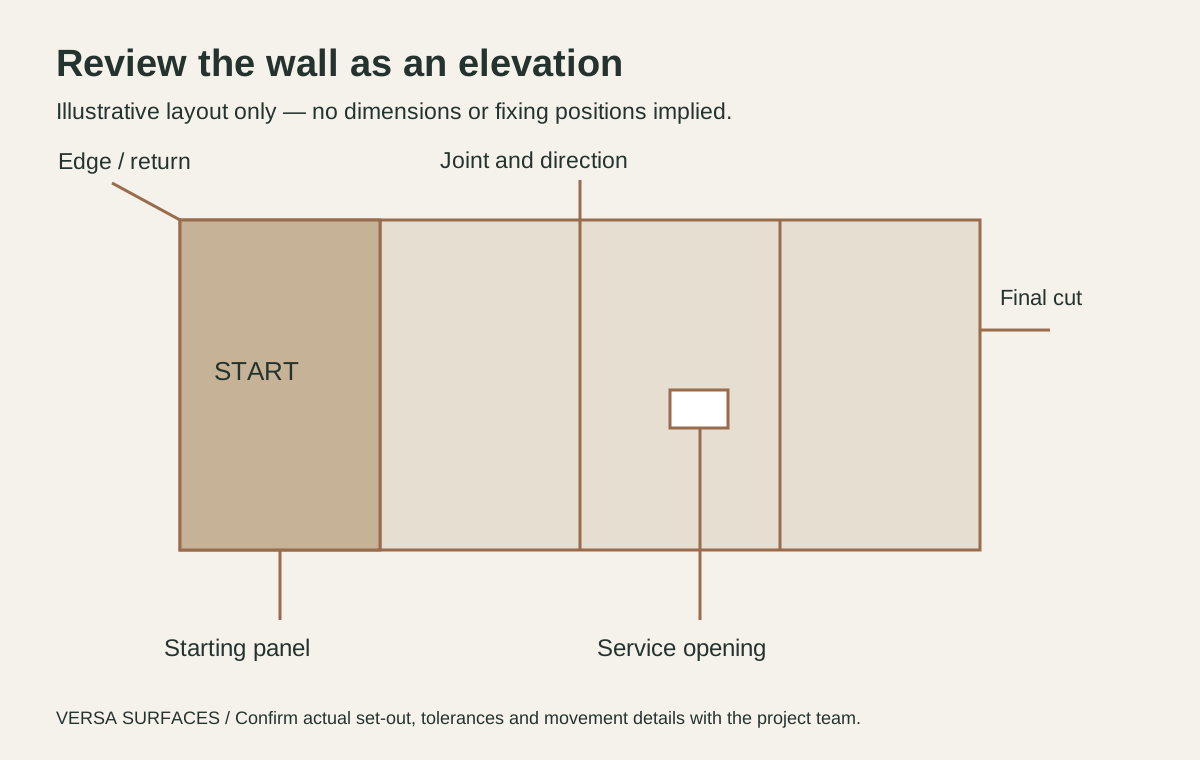
A loose face sample cannot show how a joint, cut edge and return work together. Where these details matter, review a representative assembly under the intended lighting conditions, or a documented approximation if the final lighting is not available. Record that limitation so a temporary inspection does not silently become final appearance approval.
Use a spare piece or agreed trial area to check the proposed cleaning and temporary protection method against the finish instructions. Adhesive residue removal, tape contact and protective coverings deserve attention before they touch the finished wall. Keep the accepted sample or mock-up identifiable for later comparison.
5. Use a zone-by-zone pre-start checklist
The following is a coordination template. Assign the reviewers according to the project’s responsibilities; the suggested roles do not transfer design or installation responsibility. Each row should have a dated result, or a reason it does not apply.
| Check | Evidence to retain | Suggested reviewer | Hold if… |
|---|---|---|---|
| Product identity | Panel reference, backing and batch | Supplier + installer | Delivery and specified system differ |
| Delivery condition | Inspection notes and issue photographs | Receiving team | Damage or variation remains unresolved |
| Room and storage | Required conditions and observations | Site manager + installer | Specified conditions cannot be maintained |
| Substrate | Required inspection and test records | Responsible trade + installer | Acceptance criteria are not met |
| Installation materials | Confirmed method and component references | Installer + system supplier | Substitution or compatibility is unresolved |
| Set-out and interfaces | Current elevation and agreed details | Designer + installer | Cuts, joints or service interfaces conflict |
| Appearance benchmark | Identified sample or mock-up record | Designated approver | Acceptance or its scope is unclear |
| Protection and handover | Protection method and responsible party | Site manager + following trades | Subsequent work puts the finish at risk |
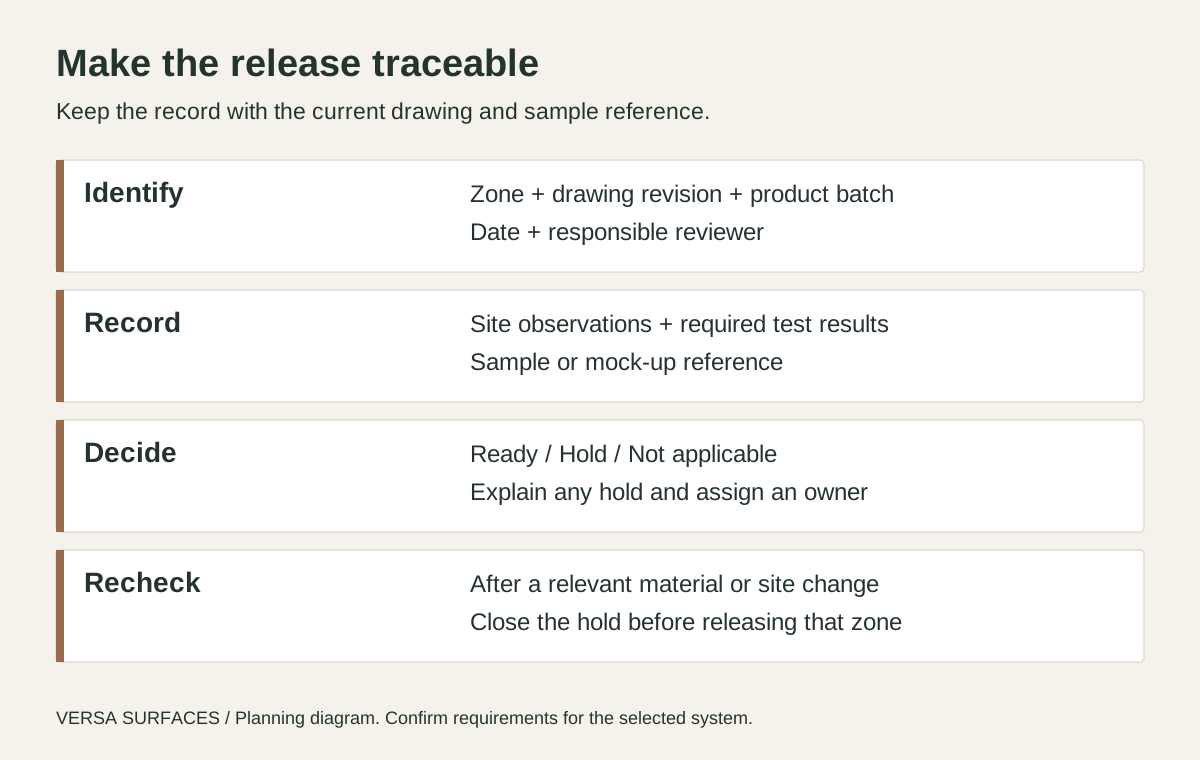
For every hold, state what must change, who will close it and what evidence is required. Release clearly identified zones only. Recheck when a relevant condition changes, such as a leak, a replacement batch, a revised detail or a different adhesive. Agree an early inspection point for the first completed representative area before repeating the work across the room.
Questions designers often ask
Does every decorative panel need 48 hours of acclimatization?
No single conditioning period applies to every decorative wall panel. Confirm whether conditioning is required, its duration and the environmental conditions in the instructions for the actual product and installation system.
Can installation begin while another wall zone is on hold?
Potentially, if the project team can isolate a ready zone without compromising access, layout, material matching, environmental conditions or later interfaces. Record the release boundary and unresolved areas. Partial release should be an explicit decision, not an assumption made to keep the crew occupied.
Who should sign off the pre-start checklist?
Use the project’s assigned responsibilities. The installer confirms installation readiness within their scope; the designer reviews specified appearance and details; the site team coordinates conditions and other trades. Technical questions about a system or substitution should reach the responsible supplier or specialist before release.
Bring the wall details into the discussion
Planning a decorative wall panel installation? Share the wall elevation, selected finish, substrate information, project location and the details still unresolved. These help focus a discussion about material options, samples and detailing before the installation team reaches site.
Discuss your wall panel project →
References and scope
- Fasade: Wall Panel Installation — manufacturer guidance used for the stated color-review example only.
- US EPA: Moisture Control Guidance for Building Design, Construction and Maintenance — general building moisture-management context.
Sources reviewed September 21, 2026. The checklist and diagrams are editorial coordination tools, not product certification or project-specific installation approval.
Considering this surface for your project?
Tell us about your space, desired finish and project requirements. Let’s discuss material options, samples and detailing.
Discuss Your Project Request Samples