

Project at a glance
The direction in one view
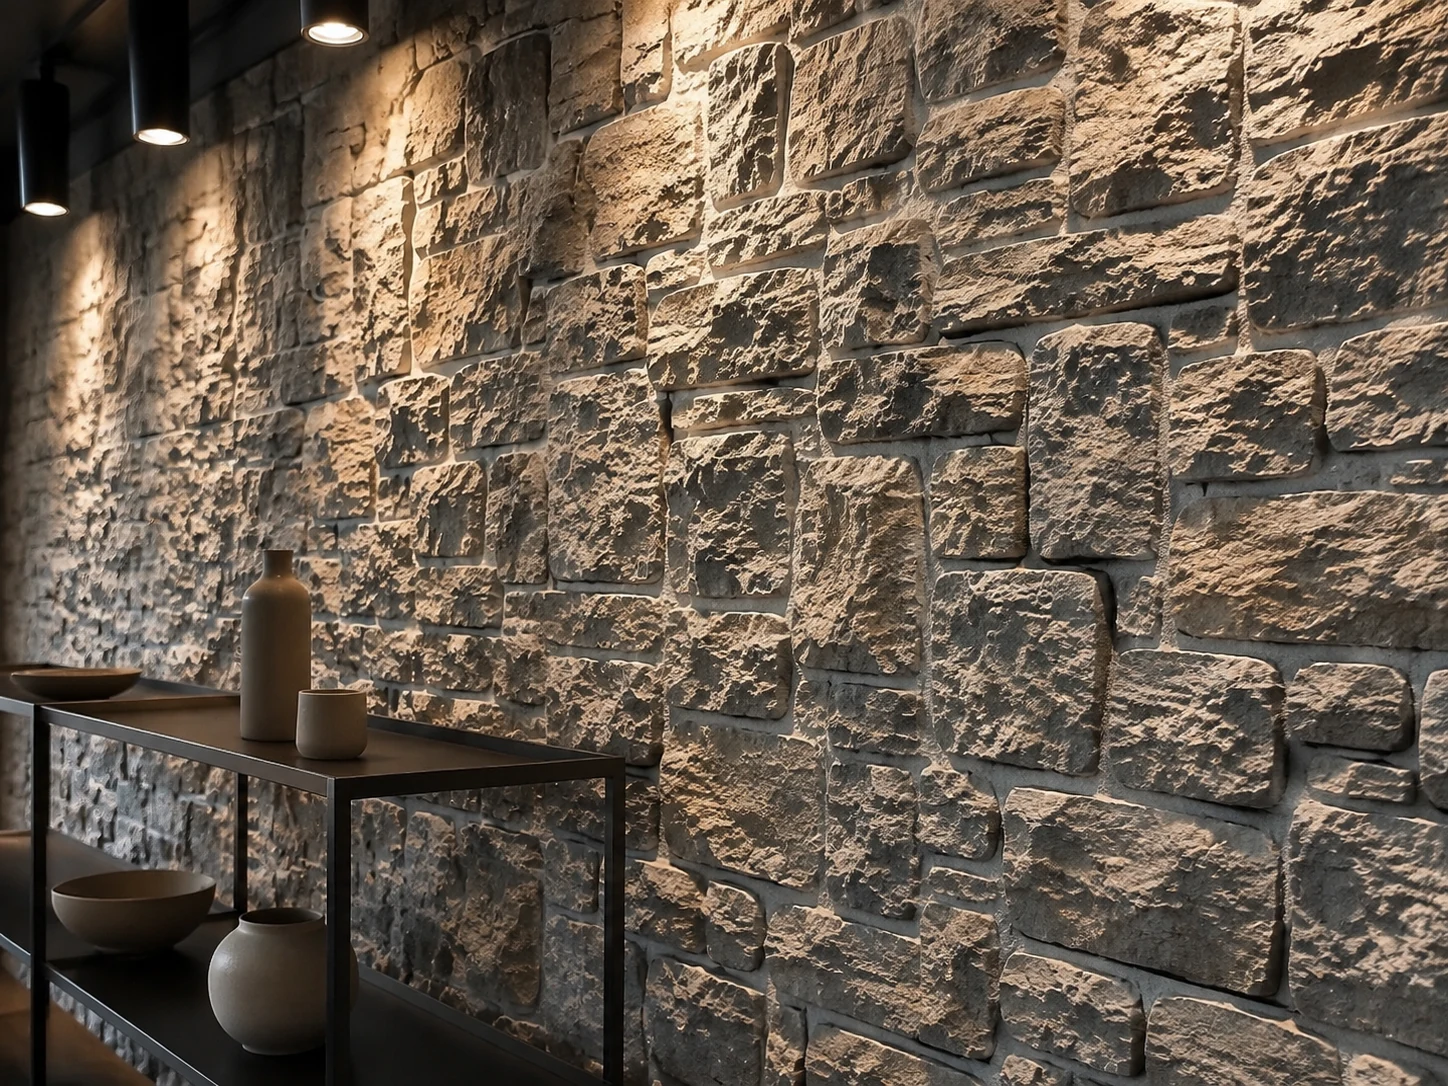
Review the relief at room scale and under the proposed lighting; a hand sample alone cannot show the rhythm of a full feature wall.
- Application
- Hospitality interior
- Design goal
- Warm, dimensional focal wall
- Material direction
- Molded PU stone texture
- Finish direction
- Deep natural tones with varied relief
- Study status
- Concept — project validation required
- Next decision
- Define the sample and coordination brief
The design brief
Give the gathering space a focal point
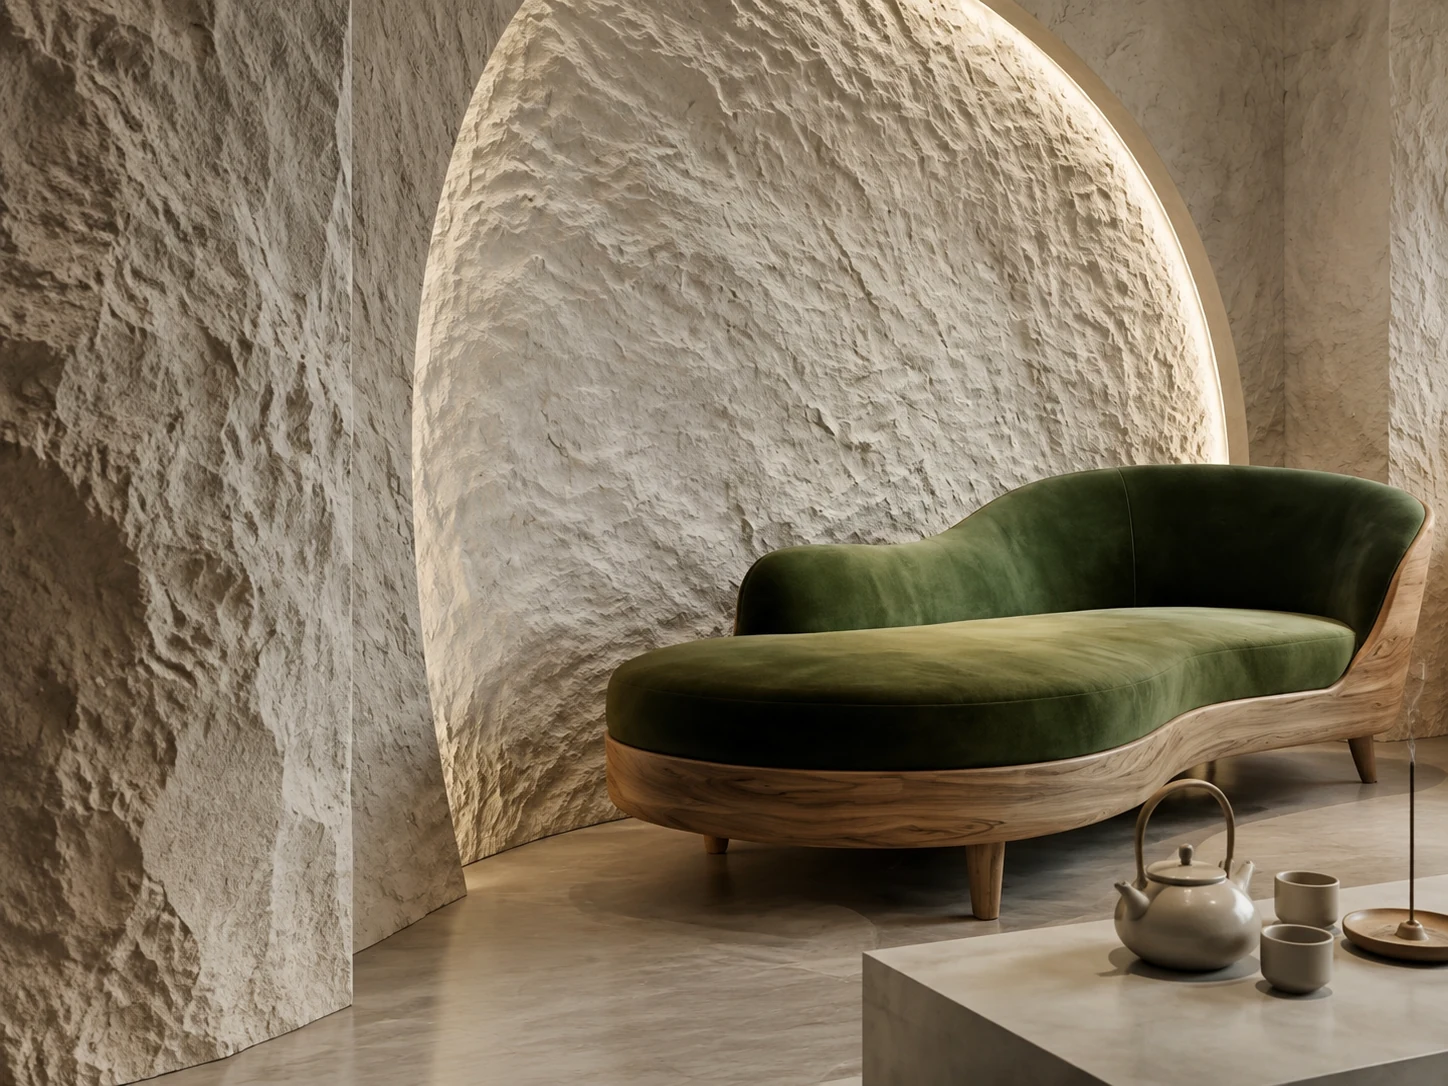
In a lounge, the feature wall sits behind a sequence of arrivals, conversations and changing furniture positions. It should read clearly from the entrance without dominating people seated nearby. This brief calls for a warm, dimensional background that can hold a broad elevation and still feel comfortable at close range.
Begin by marking the part of the wall that will remain visible after sofas, tables and decorative objects are placed. Review the seated view as well as the standing view. If most of the lower surface is obscured, the upper texture and perimeter conditions become especially important. Keep this visible area in mind when choosing the scale of the relief and the arrangement of panels.
Material direction
Why evaluate a molded PU stone surface?
The proposed route uses molded relief to create a stone-inspired decorative expression. The decision should be grounded in the selected panel’s profile, format and finish, alongside the installation constraints. Confirm the actual product weight and complete build-up if handling or support is part of the brief; the category description is not an installed-system calculation.
Compare the result with the natural stone or other decorative finish being considered for this room. Ask what each option contributes to texture, visible edges, repeating patterns and repair. A PU decorative face should not be assumed to provide the fire, acoustic or thermal performance required of the surrounding wall. Those requirements need their own product and assembly evidence.
Explore PU Stone Panels ↗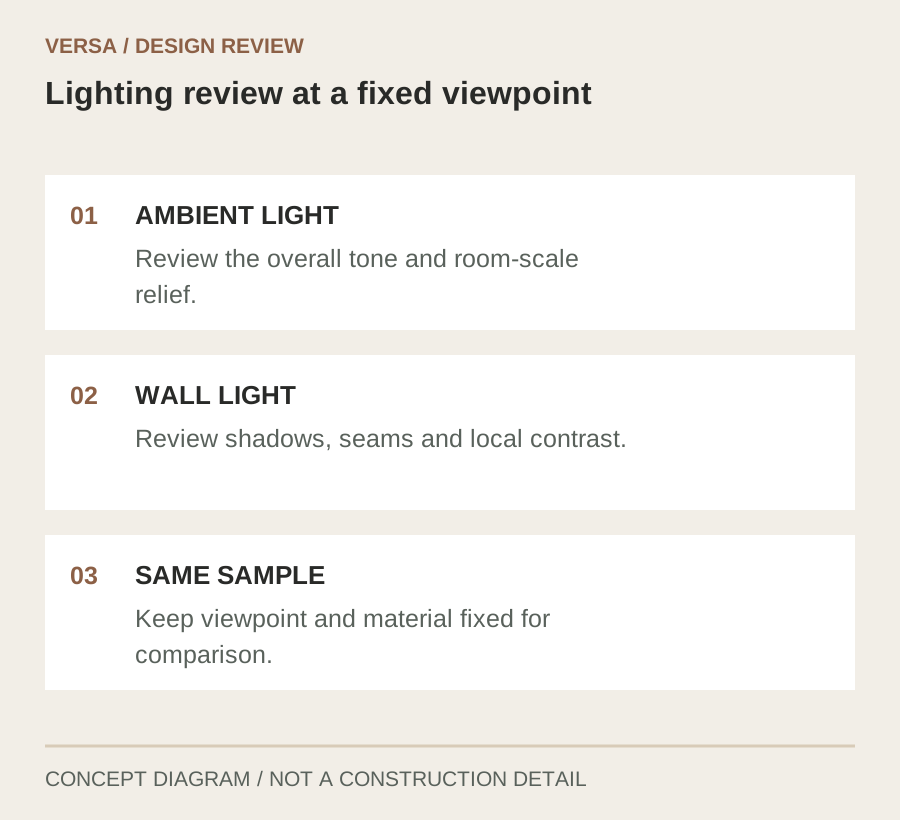
Details that shape the result
Three decisions to resolve in the design
Set the relief scale from the room
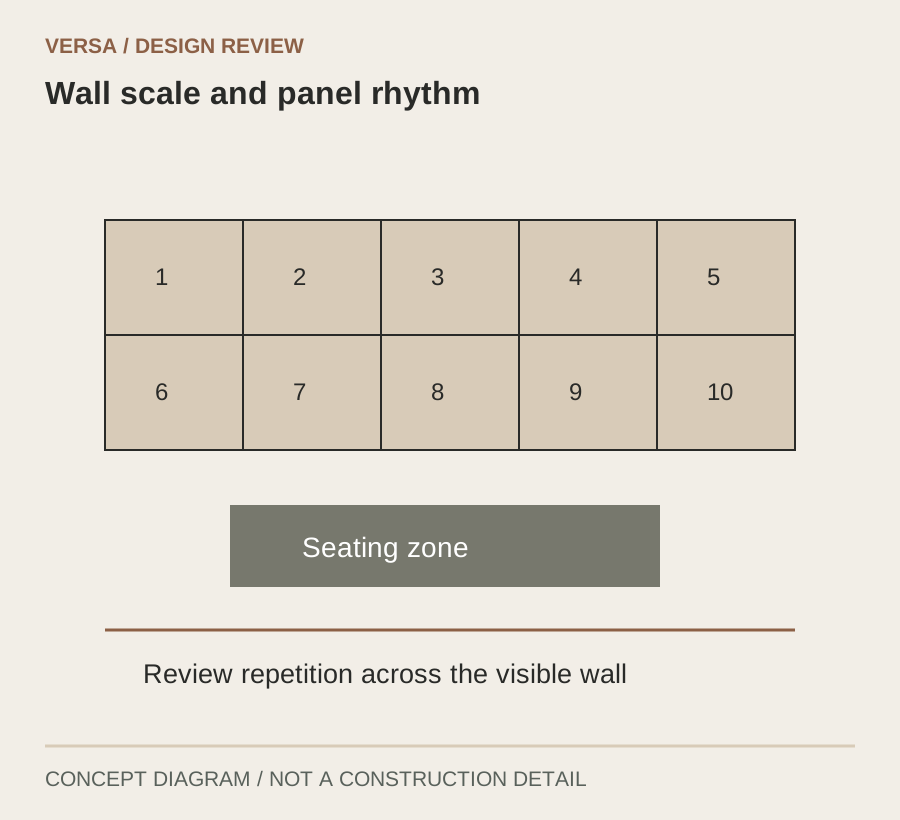
Review a full-panel view at the entrance and at the closest seat. A texture that looks varied in a small crop may form an obvious repeating motif when multiplied across the elevation. Lay out several panels in their permitted orientations and check whether distinctive features cluster. Record the selected arrangement instead of leaving the overall pattern to chance on site.
Test light across the surface
Compare the proposed ambient light with the wall-lighting arrangement using the same sample and view. Shallow-angle light can make both relief and joints more prominent. The design question is whether the resulting shadows support the intended atmosphere at the actual viewing position. Confirm the luminaire location with the lighting designer rather than treating the render as a lighting test.
Design the perimeter and contact zone
Show how the wall ends at a doorway, exposed side and base. Decide which edges remain visible and which have a coordinated trim or return. Review furniture contact, cleaning access and the ability to address local damage. These practical conditions can influence the best location for a panel boundary as much as the overall composition.
From sample to specification
Make each review answer a different question
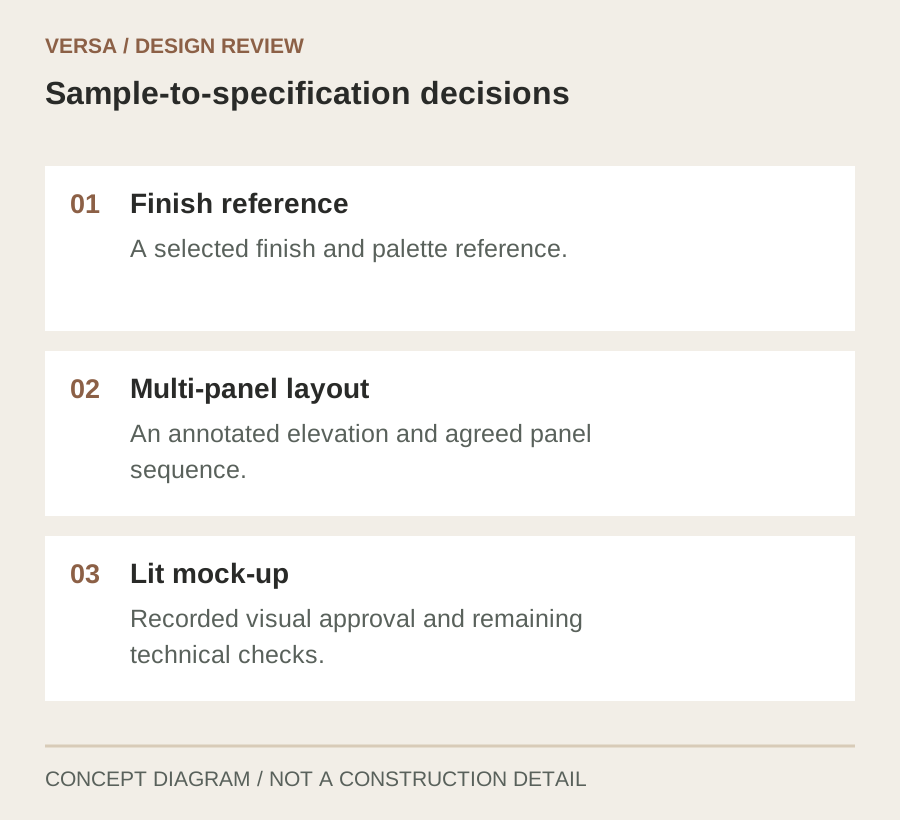
Use the following review sequence to agree the visual direction and identify unresolved conditions. These are proposed checkpoints for a new project, not records of a completed installation.
| Review | What to check | Decision to record |
|---|---|---|
| Finish reference | Compare tone and relief with upholstery, flooring and the adjacent wall finish. | A selected finish and palette reference. |
| Multi-panel layout | Check repetition, permitted orientations, joints and visible perimeter conditions. | An annotated elevation and agreed panel sequence. |
| Lit mock-up | Review the assembly with the proposed wall light, seated viewpoint and contact zone. | Recorded visual approval and remaining technical checks. |
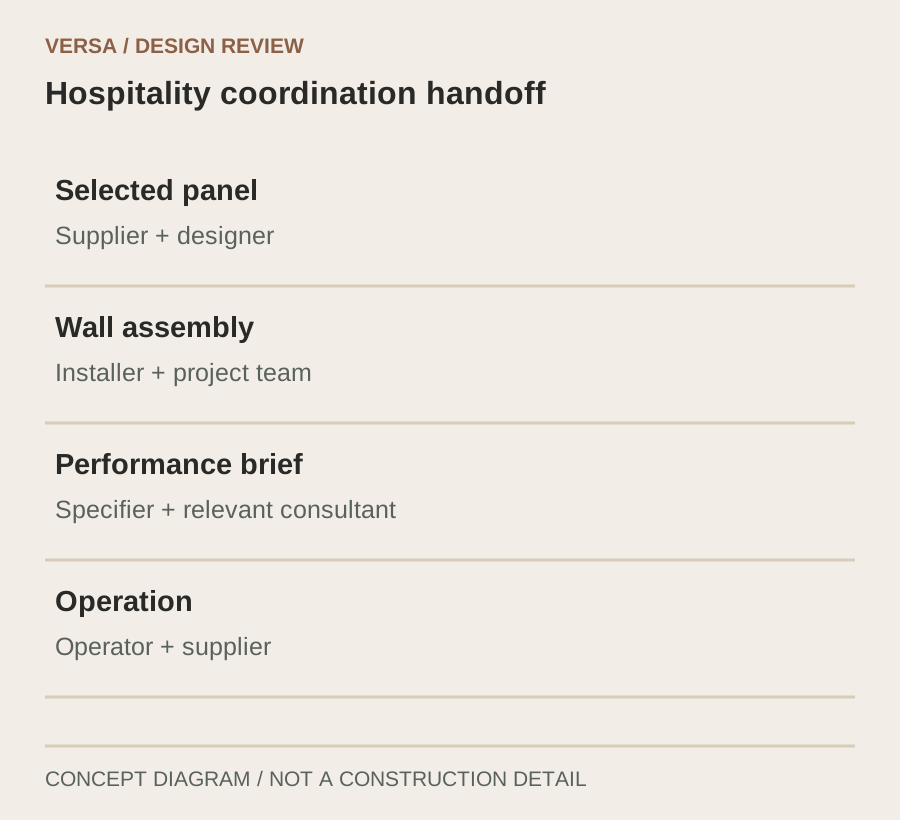
Specification & coordination notes
Connect the finish to the complete assembly
Use these notes to organize the handoff. Confirm the selected product, project conditions and responsible reviewers before treating the concept as a specification.
| Item | Information to confirm | Suggested coordination |
|---|---|---|
| Selected panel | Confirm SKU, format, weight, finish and permitted orientation. | Supplier + designer |
| Wall assembly | Agree substrate, attachment, edge treatment and service interfaces. | Installer + project team |
| Performance brief | Match required fire and other evidence to the exact product and assembly. | Specifier + relevant consultant |
| Operation | Agree cleaning guidance, local repair approach and spare-panel strategy. | Operator + supplier |
Applying this direction
Use the wall as part of the room composition
This direction may suit a hospitality lounge, reception backdrop or other interior focal wall where texture is central to the atmosphere. Reconsider the surface or its placement where the brief depends on an unverified performance claim, constant furniture impact or a cleaning method that has not been checked for the finish.
For an initial discussion, share the wall elevation, room views, proposed lighting and material palette. Add the visible dimensions and any project-specific performance requirements. The first useful deliverable is a candidate surface and a mock-up brief that says what the team needs to see before making a selection.
Questions designers ask
Before you make a selection
Will the panel pattern repeat across the wall?
Molded products can include recognizable repeat features. Review the actual panel formats and permitted orientations in a multi-panel layout before approving the elevation.
Can I approve the wall from a small color sample?
A small sample helps establish tone and surface character. Use a larger layout to assess relief scale, joints, repetition and the effect of the proposed lighting.
Does the textured wall provide acoustic treatment?
Do not infer acoustic performance from visible texture. If the room has an acoustic requirement, obtain evidence for the proposed assembly and coordinate it with the acoustic design.
How should the finish be maintained?
Request care guidance for the selected finish and review it with the operator. Confirm the cleaning method on a suitable sample before it becomes part of the maintenance plan.
Related resources
Take the next design question further
PU Stone Panels vs Natural Stone: What Changes Beyond Appearance?
Read the guidance ↗Manufacturing & CustomizationHow PU Stone Panels Are Molded: What Shapes the Finished Texture?
Read the guidance ↗This is a concept case study. Spatial images are conceptual visualizations; diagrams explain design-review decisions and are not construction drawings. Confirm product specifications, performance evidence and installation details for the actual project.
 PU Stone Panel · Concept case study
 Flexible Stone · Concept case study