
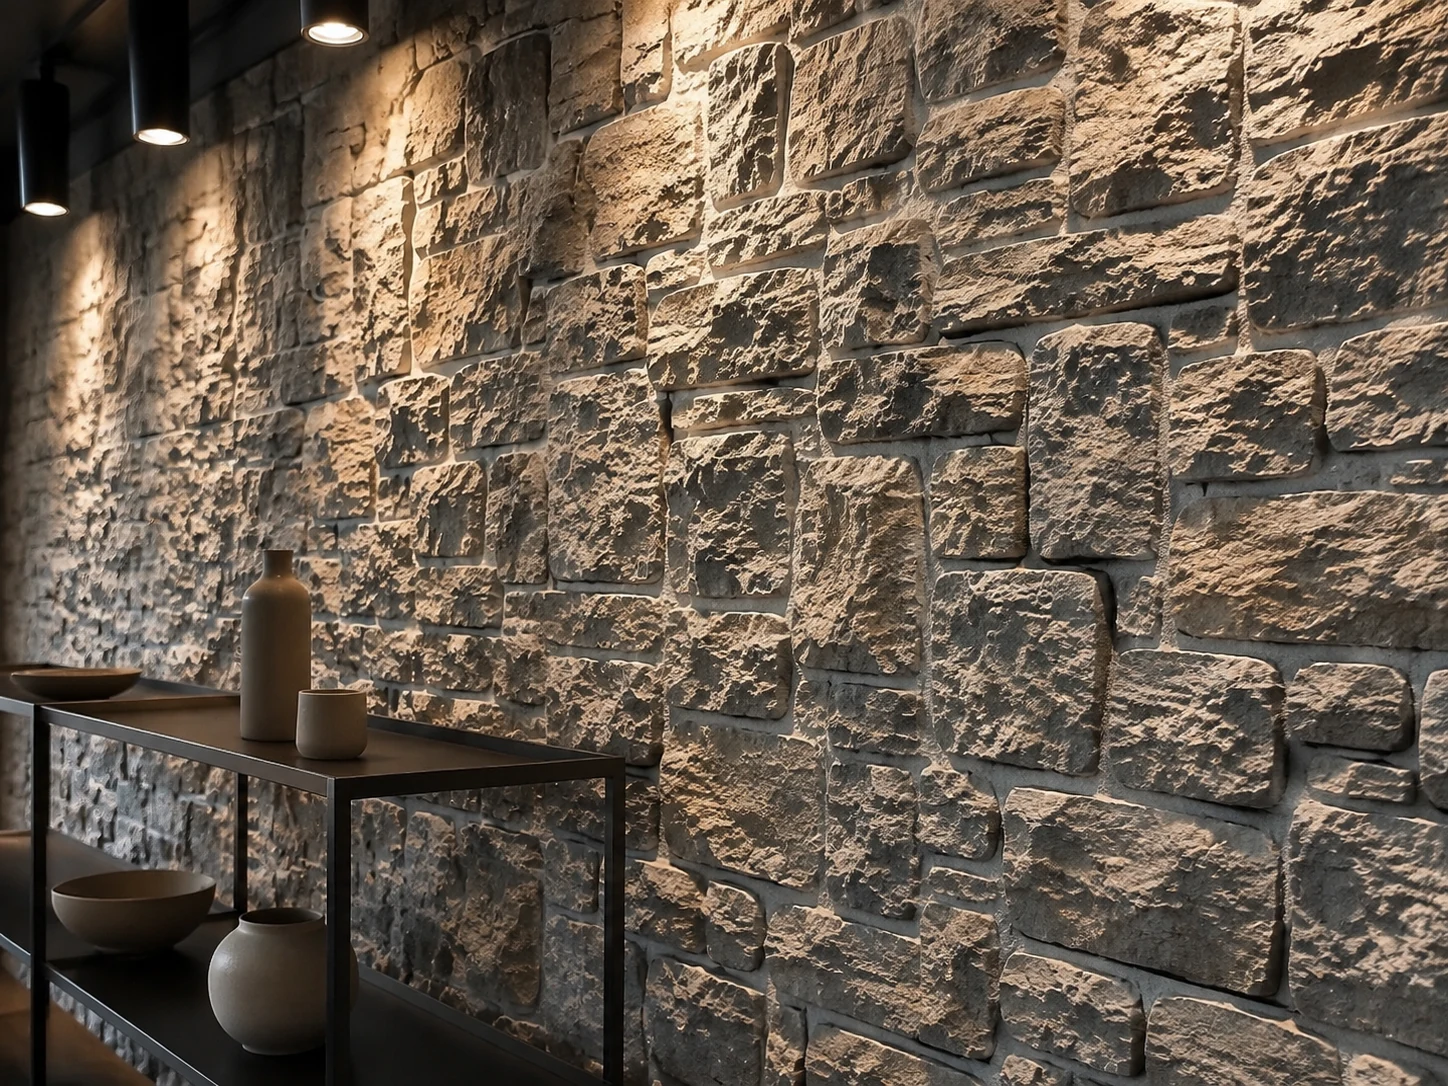
Project at a glance
The direction in one view
Design the backdrop with the merchandise and access requirements in place, then review the surface at both shopping distance and close range.
- Application
- Retail environment
- Design goal
- High-impact branded background
- Material direction
- Molded PU stone texture
- Finish direction
- Graphic relief with controlled contrast
- Study status
- Concept — project validation required
- Next decision
- Define the sample and coordination brief
The design brief
A memorable background that leaves room for the product
The brief is to create a distinct wall behind a display or service point without letting texture overwhelm the items in front. A backdrop that looks impressive on its own can become busy once merchandise, price information and branding are added. The first composition should therefore include representative objects at their intended scale.
Map the main customer approach, close browsing position and any view used for store photography. Include the likely changes in display height or seasonal arrangement. The wall should be assessed as part of a working retail setting, with signage and lighting shown, rather than as an empty architectural surface.

Material direction
Balance molded relief with the display hierarchy
A molded stone-look finish offers a route to a dimensional decorative background. For this concept, choose the relief and tonal range in relation to the merchandise: small or visually detailed objects may need a quieter local background than larger silhouettes. Test the combination with physical samples before deciding that a more dramatic texture is the stronger choice.
The decorative panel is only one part of the display assembly. Shelves, signs and other fixtures need a coordinated support arrangement suited to their loads and substrate. Do not assume the face panel can carry them. Equally, a panel should not be described as readily replaceable until the actual fixing, edges and access sequence have been resolved.
Explore PU Stone Panels ↗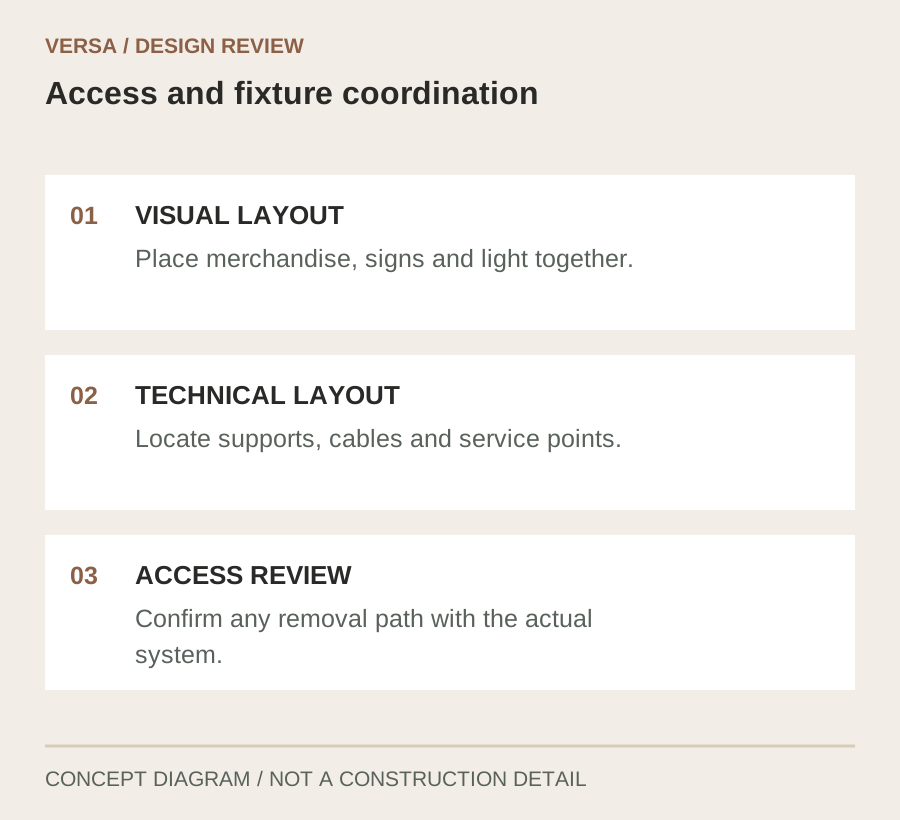
Details that shape the result
Three decisions to resolve in the design
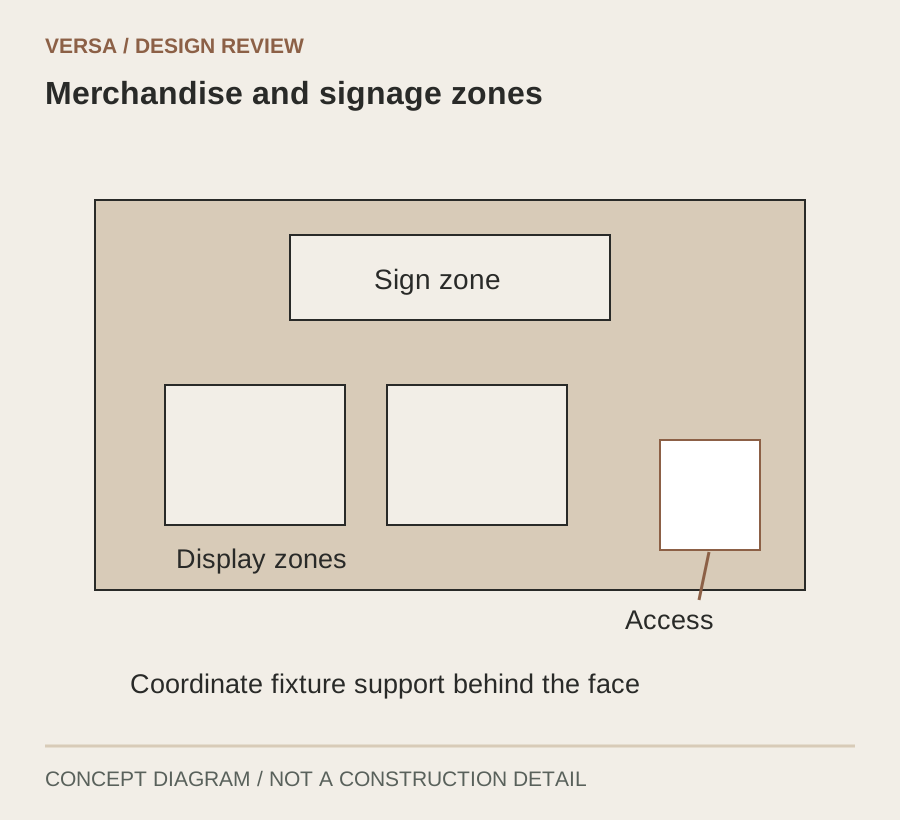
Keep the focal zone legible
Place a representative product and brand mark in front of the sample or mock-up. Compare the relationship from the main approach and at close range. Review relief shadows and tonal contrast alongside the merchandise instead of choosing each separately. Keep a record of the selected combination so later display changes can be considered against the original design intent.
Resolve signage and fixture interfaces
Mark every sign, shelf, bracket and cable route on the elevation. Coordinate the attachment with the responsible fixture and substrate designer, including any stand-off through the decorative face. Show the perimeter of each penetration. A rendered sign floating neatly above relief is a visual intention, not a resolved installation detail.
Make future access part of the layout
Identify the items that may need servicing and the panels that may need removal. Check the real removal path, nearby fixtures and edge treatment. If the selected installation is permanent, describe repair or local replacement honestly instead of promising a reusable system. A visible, well-placed boundary can be preferable to a concealed access problem.
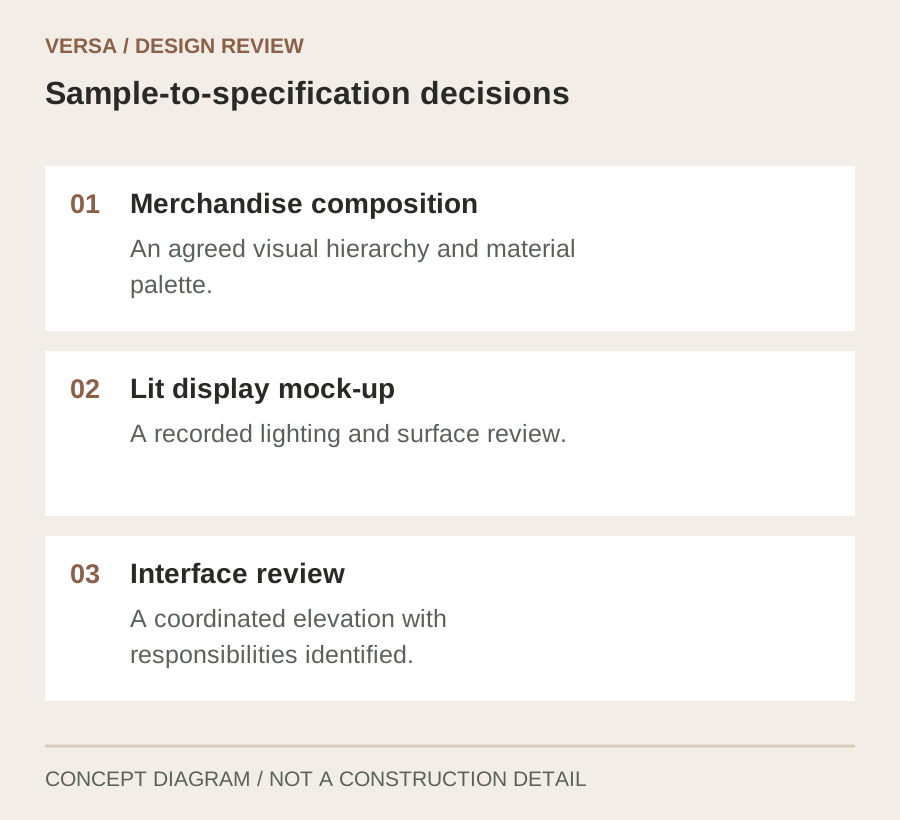
From sample to specification
Make each review answer a different question
Use the following review sequence to agree the visual direction and identify unresolved conditions. These are proposed checkpoints for a new project, not records of a completed installation.
| Review | What to check | Decision to record |
|---|---|---|
| Merchandise composition | Place product, signage finish and surface reference together. | An agreed visual hierarchy and material palette. |
| Lit display mock-up | Assess relief, shadows, readability and the closest browsing position. | A recorded lighting and surface review. |
| Interface review | Demonstrate the proposed fixture detail and any required access/removal sequence. | A coordinated elevation with responsibilities identified. |
Specification & coordination notes
Connect the finish to the complete assembly
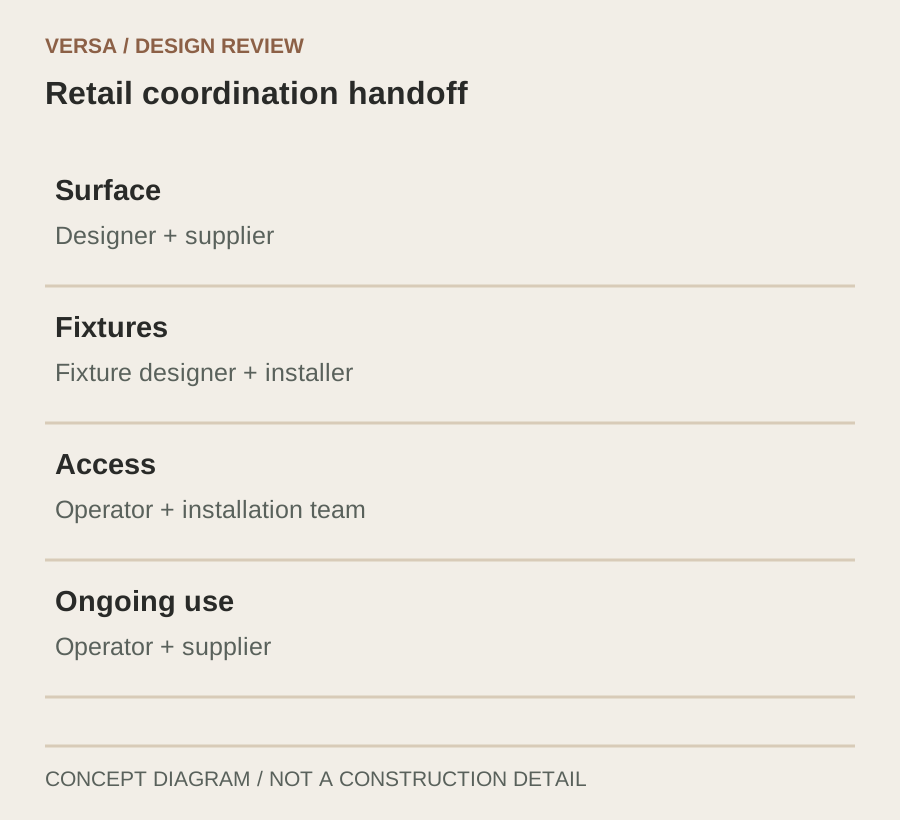
Use these notes to organize the handoff. Confirm the selected product, project conditions and responsible reviewers before treating the concept as a specification.
| Item | Information to confirm | Suggested coordination |
|---|---|---|
| Surface | Record panel identity, relief, tone and permitted layout. | Designer + supplier |
| Fixtures | Agree support, penetrations and cable routes independently of the decorative face. | Fixture designer + installer |
| Access | Confirm which components are removable and the practical removal sequence. | Operator + installation team |
| Ongoing use | Review cleaning, contact exposure, local repair and spare material. | Operator + supplier |
Applying this direction
Plan the first display and the next change together
This concept may suit a retail feature area, product backdrop or service counter where a dimensional surface supports the brand expression. It needs a different approach when visual contrast obscures the merchandise or when frequent changes require a removal system that the selected construction cannot provide.
Share the wall dimensions, representative product images, brand-mark position and proposed fixture layout. Include known service points and the expected pattern of display changes. These inputs help define a sample review that considers how the space will operate after opening, as well as how it will look on the first day.
Questions designers ask
Before you make a selection
Can shelves be attached directly to the panels?
Do not assume the decorative face is a load-bearing support. Coordinate the shelf load and connection to a suitable substrate or support with the responsible designer and installer.
Will deep relief compete with merchandise?
It can, depending on scale, color, light and viewing distance. Review the actual merchandise with a representative surface sample rather than approving an empty-wall image.
Can an individual panel be replaced?
That depends on the chosen attachment, joint detail and access path. Ask the team to demonstrate the proposed sequence; a panel format alone does not establish removability.
Which information is most useful for a first review?
Provide an elevation with signs, fixtures and service points, alongside product images and the lighting direction. Identify any areas expected to change frequently.
Related resources
Take the next design question further
Retail Feature Wall Design: Balancing Brand Identity and Replaceable Panels
Read the guidance ↗Design & SpecificationHow to Specify Architectural Wall Panels: A Practical Checklist
Read the guidance ↗This is a concept case study. Spatial images are conceptual visualizations; diagrams explain design-review decisions and are not construction drawings. Confirm product specifications, performance evidence and installation details for the actual project.
 PU Stone Panel · Concept case study
 Printed Decorative Panel · Concept case study